In case you’re similar to me, you cherish setting off to the nail salon and getting a spa pedicure, yet you don’t love the sticker price. For me, setting off to the nail salon and having my fingers and toes expertly done is a treat, not something I can pay for each couple of weeks. Be that as it may, here’s the issue: what do you do when you are bankrupt and your feet are beginning to look like Frodo’s?
With the buy of some straightforward instruments to keep in the shower, I am ready to keep my feet flip-flop prepared and free of awkward and scratchy calluses constantly. You should simply pursue this schedule each couple of weeks when your feet begin to feel somewhat scratchy once more, and you’re free!
STEPS OF SPA PEDICURE AT HOME
Stage 1: Lotion or Oil
My feet get additional dry and super callus, so the initial step I do before I do whatever else is applying cream or oil to clean feet and put socks on for at any rate 30 minutes before dousing my feet to get ready for callus evacuation. The gentler your feet are, the simpler it is to expel calluses.
In case I’m utilizing oil, I will utilize either coconut oil or argan oil. In the event that I use moisturizer, I will utilize an unscented one. Slather on a thick layer and afterward put socks on for thirty minutes before beginning your foot splash and clean!
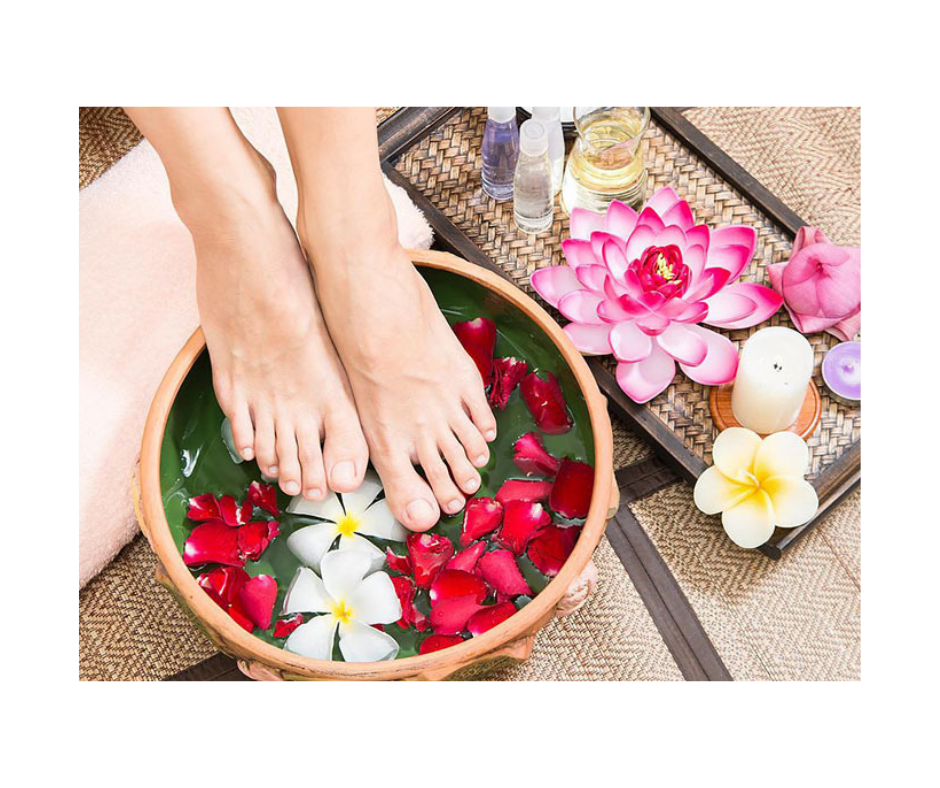
Stage 2: Soak and Scrub Your Feet
Calluses aren’t something you can bog off dry. It’s awkward to do as such. The primary thing you need to do is drench your feet. There are two or three distinct drenches you can do contingent upon what your foot issues are.
Most importantly, regardless of what you choose to put in your foot splash, you should consistently put in Epsom salts. Epsom salts are made with magnesium and sulfate, two minerals that are basic in human body forms that we don’t get enough of. Magnesium and sulfate can be retained through your skin and can help with muscle a throbbing painfulness, as well.
In the event that you utilized coconut oil in the past advance to help mollify your feet a tad, you may need to flush your feet off before putting them in the splash. Argan oil or cream ought to have completely assimilated.
Stage 3: Slough Off Those Calluses
Calluses are the most irritating piece of keeping up your feet, particularly on the off chance that you are somewhat sensitive, yet here’s a simple method to consider taking them off. It’s much the same as sanding wood. The coarser the coarseness that you use, the more that will fall off, however, the surface will even now be unpleasant, so you pursue with better and better sandpaper until the surface is smooth.
For the spa pedicure, Begin with a metal foot filer that that looks like a cheddar grater. Document on the majority of the most unpleasant pieces of your foot—impact point, huge toe, and huge toe joint—to expel however much of the callus as could reasonably be expected. This is potentially the most significant instrument you will need and you will see quick outcomes from utilizing it.
Stage 4: Lotion Up
This is consistently a decent followup to an absorb to bolt dampness and keep your feet milder for somewhat more.
Stage 4: Beautify Your Toes
After you’ve completed the snort work, you can proceed to the real pedicure some portion of the procedure in the event that you like. On the off chance that you couldn’t care less or don’t need nail clean on your toes, you can skirt the vast majority of this progression!